Hi! Thank you for stopping by today! My name is Bronwyn. I am a follower of Jesus, wife of a Marine, and mother of 2 autistic boys. We have been a homeschooling family for going on 7 years now and loving it! I also love to read, cook, bake, and walk.
Showing posts with label art. Show all posts

Saturday, November 7, 2009

We have all been a little under the weather here this week.  Nothing too awful just sore throats, stuffy noses, and that sort of thing.  Just enough to make everyone a little sluggish and irritable.  

It really wasn't a terrible week overall.  Christian and I didn't accomplish much school wise but he did straighten out his sleep schedule a little bit.  (at least for now)  I am not sure if it was daylight savings time or if it was him feeling sick or just a combination of the two.    He has been asleep by midnight every night this week!  Yipee!   I have actually been getting at least 6 or 7 hours of sleep every night!  I think I could used to this.

Tyler has been working really hard at school this week.  He is still loving his dog unit study.  This week we talked about seeing eye dogs and he was impressed by the amount of training that goes into a dog becoming a seeing eye dog.  We have been going a little slower than the lesson plans dictate but he is absorbing so much.  It is always interesting to observe how much more attentive he is when it is something he is interested in learning.  

We finished studying/praying for Pakistan this week.  I wanted to allow a week for each country but we rabbit trailed on this one a WHOLE bunch!  It's okay though as I am sure Pakistan can use some extra prayers.  Tyler finished up a project this week for our Pakistan time.  It is a bus he made based on Pakistani truck art.  If you have never seen their truck art I encourage you to check it out because it is really pretty amazing.  Here are a couple of links for that:

  http://pakistaniat.com/2008/06/18/pakistans-indigenous-truck-art/

http://web.mac.com/mikespix/iWeb/Site/Pakistani%20Truck%20Art.html

Tyler made his using a cardboard box which we cut off the front and overlapped it to make the hood of the bus.

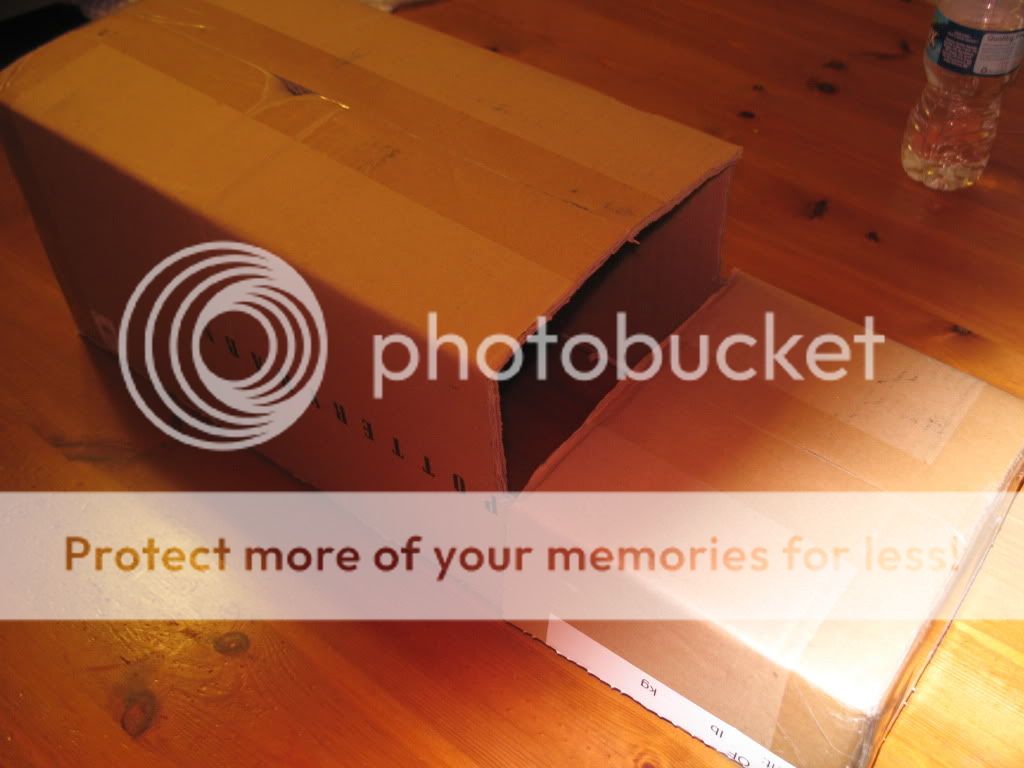


He then painted the whole bus gray to cover up all the writing and labels on the box.


Next he decorated it with paint, stickers, colored paper, and crayons.  He had a lot of fun with it! 


Last we put on wheels (jar lids)  on their axles (wooden dowels) and secured them with beads and a little glue.  It really doesn't look very much like the Pakistani trucks but he had a great time making it and I think he will remember this about Pakistan.
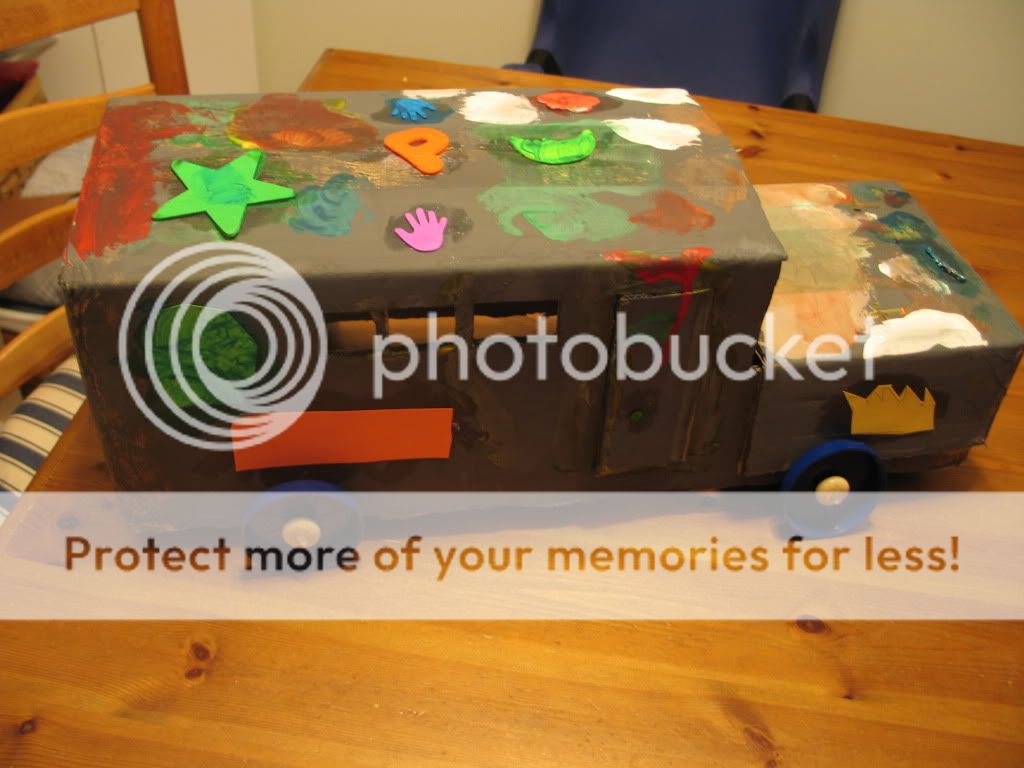


He really loves anything he can make that he can play with later.

We are still finishing up reading Three Cups of Tea but we should be done by Tuesday.  Tyler has enjoyed this book immensely!  We have also finished collecting all the change we can find around the house for Pennies for Peace  and our grand total came out to $25.65!  We are pretty amazed at how much change we have just sitting around.  It is sad to think how much we take something like our  change and think it is worthless when it can do so much good if we put it all together.  It is a nice thought to think that we have helped some child in Pakistan to have a brighter future!

This week promises to be a busy one for us as well.  Monday and Tuesday I hoping to focus on Veteran's Day.  We will be doing a
free lapbook from Currclick. 


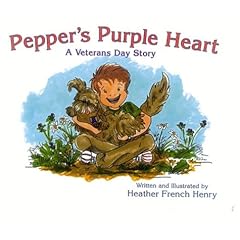
It looks like it will be a good one!  We will also be reading two books we usually enjoy for Veteran's Day.  They are:


The Wall

and


Tyler has also chosen Vietnam this week for our prayer country so that we could honor those who served in the Vietnam War at the same time.

Tim has off work most of this week too so hopefully we will also get some good family time with our Vet!  
I hope everyone is enjoying their weekend!
Blessings to all of you!
Bronwyn


Thursday, October 22, 2009

Fall Tree Painting

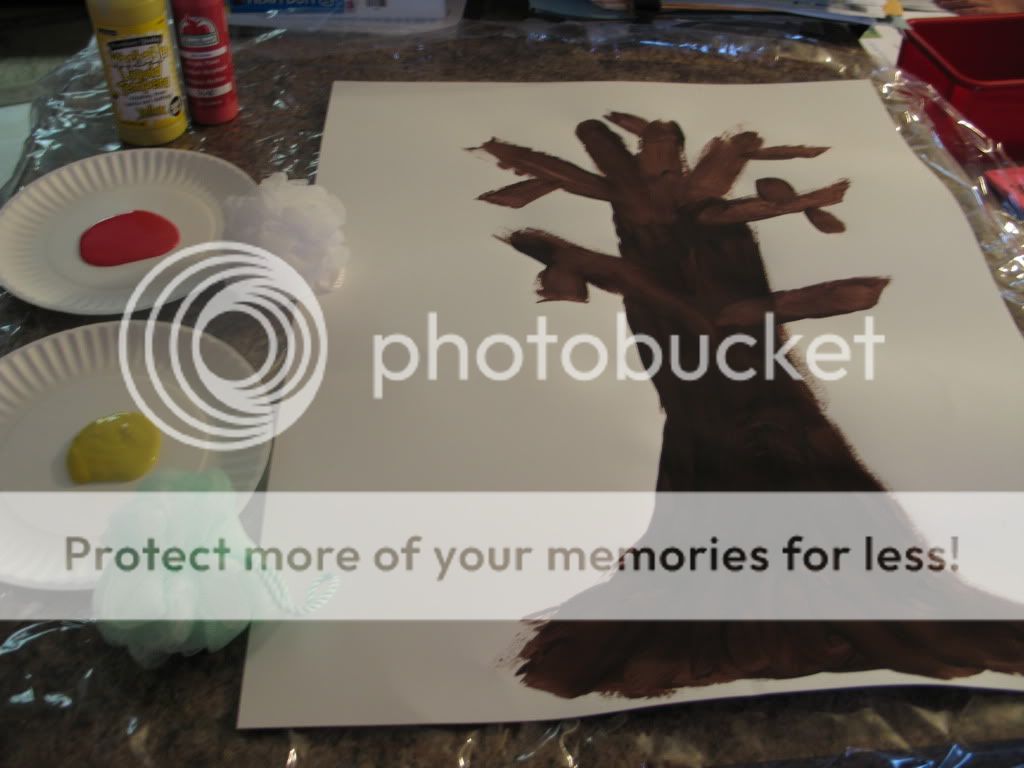
Today we sponge painted fall trees.  I have been wanting to do this with them for awhile now but it keeps getting pushed off.  Today I was determined to finally paint with them.  It was lots of fun.


We used the kind of sponges you would use in the shower with body wash and red and yellow paint to make the leaves.  It was interesting to see the sensory differences in my two boys.  I am not sure if you will be able to tell from the pictures but I will try to explain.


This was Christian's painting and even with me guiding his hands he barely pressed down.   He is very tactile defensive and doesn't like to press hard.  He is a lot better about touching things then he once was but you can still see a lot of defensiveness when we do things like this.

This is Tyler's painting.  He is a child who can't process any information about what he feels unless he presses hard or grabs with all his might.  He has to feel everything.  When he colors he pushes the crayon through the paper so when he paints he also lays it on heavy.  I had to put his out in the sun to dry.
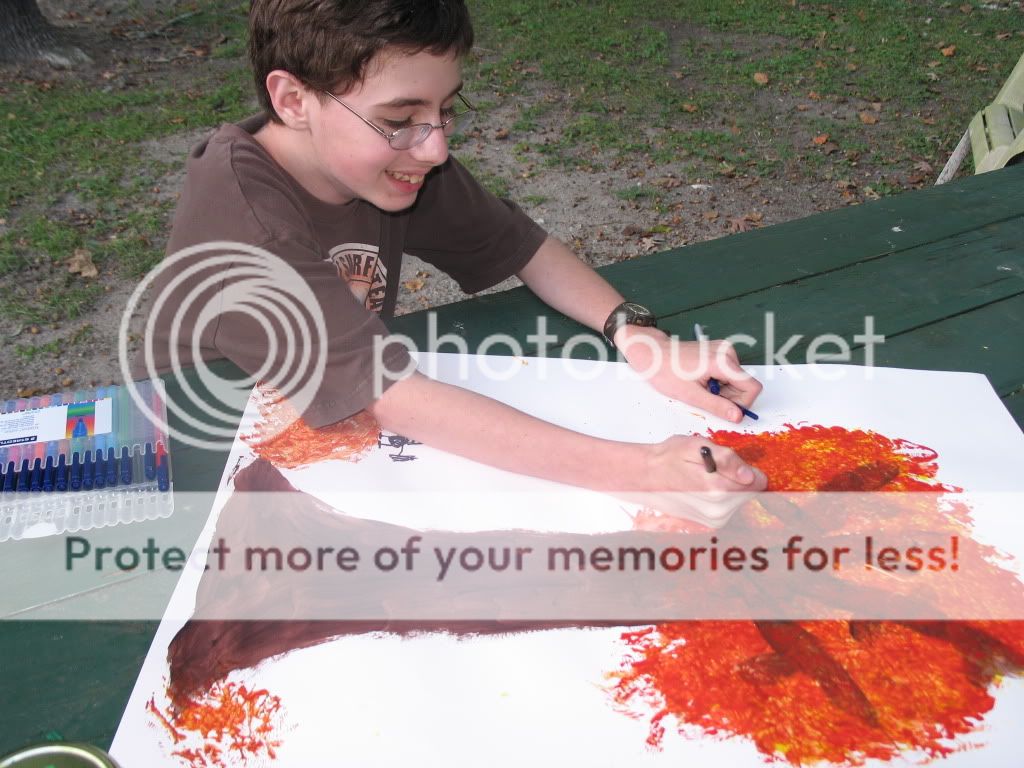


I am often fascinated by these differences.  I marvel at two kids with similar diagnosis and significant sensory issues that approach things in such different ways.


I did enjoy the fact that Tyler added a leaf pile at the bottom of his painting and that he wanted to add kids and a dog playing in the leaves.  He also added a squirrel in the tree just for our dog Lucy.  LOL I really loved that!


Now the paintings are hanging in our private collection (aka the living room).


Kid art is my favorite kind of art!

Saturday, August 8, 2009

Really cool cards for our workboxes

I found these great cards from Usborne this summer and I am so impressed that I had to share.  They seem like they were almost created for Workboxes.  You could put a card and the supplies needed in the box and you would have a super fun project. 

The first set of cards we have is 50 Science Things to Make & Do .


I really like these because I like to make one day of the week in each subject an activity day and I think these are going to work out great.  The front of the cards have a picture of the activity.


The backs sides of the cards have the instructions.

The other set of cards we have is 50 Things to Make & Do . They are craft and art projects.  Some of them are seasonal or holiday activities also.


They have some other sets you might want to check out as well.  There are 50 Things to Draw and Paint , 50 Rainy Day Activities , and if you have a girl (I don't! )  there is 50 Fairy Things to Make and Do .

I hope you enjoy them as much as we are!

Tuesday, June 23, 2009

Fireworks Hat


This weeks meme is supposed to be about a patriotic activity so I was thinking it over and remembered something really cute we did last year.  My husband was deployed to Afghanistan at the time so we wanted to make something we could send a picture of.  We got our idea out of the book Little Hands Celebrate America which is full of lots of great patriotic ideas.

We chose to make what the book calls a "Fireworks Party Hat".  Here is the picture of  ours.He is squinting because it is really sunny in North Carolina in July! 

To make this very festive hat you will need:

tape

2 sheets of white construction paper

a piece of blue construction paper

red construction paper

scissors

red marker

glue red tempra paint

paintbrush

pencil

First you need to tape the short edges of the white paper together to make one long sheet.  Next, you need to wrap it around your childs head and tape it together so it is the right size.  Then you cut a band of blue paper to fit across the front of the hat and write "Happy Birthday USA" in big letters across the band.  Glue the band to the hat.  Paint red stripes frome the top of the hat to the blue band and let it dry.  Cut strips of red, white, and blue paper and roll them around a pencil to curl.  Tape them to the top edge of the hat.  We chose also to put white paper stars on ours and since the goal is to look like a firecracker you could embellish yours in different ways too.  Have fun with it!

Monday, June 22, 2009

Scratch Art

A couple of weeks ago I had purchased some small scratch art pictures from our local Dollar General to put into Tyler's workboxes.  I thought he might enjoy something different and he could work a little on his fine motor skills.  Here is what they looked like.

He enjoyed them so much!  My husband and I were talking about how we both had done scratch art in school so I started looking around for directions how to make our own.  I found instructions in a book I just love.  It is called How to Teach Art to Children and is published by Evan-Moor.  I highly recommend it. 

The first thing we did was to color a piece of white construction paper.  You need to cover the entire paper leaving no empty spots and the darker you color the better.  Ours looked like this: And:

The next thing you do is to mix a little bit of dishwashing detergent with black tempera paint.

Then you paint over your entire picture.

When your picture dries completely (our took about two hours) you can take something sharp (we used a bamboo skewer) and scratch your picture.

I made one for Christian thinking he might enjoy the scratching part also but he didn't.  I used his paper to make one for him.  Try to ignore my lack of artistic ability on this one.  Thanks!

It was a lot of fun and super easy.  I am sure we will be doing this again. 

Related Posts with Thumbnails